This one from Ron Zawlocki / MI-TF1
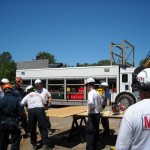
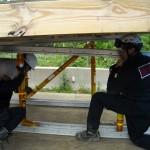 Here are some photos and a drill description from a task force (MI-TF1) exercise last week. The task was to shore a sloped (lean-to) floor. They used Paratech equipment.
“LIKE” FIRST DUE TACKLE ON FACEBOOK
How its done:
1. The shore is pre-fabed (2 Gold struts and 2 walers) outside of the collapse zone and half of the shore is carried in by two rescuers
2. It is put in place and hand tightened
3. The second half (2 Gold struts and 2 walers) is then put in place and hand tightened
4. Diagonal B struts are installed
5. Nailing blocks are added and bracing nailed on
6. Sole and/or header anchors secure the shore
Whats needed:
(4) Aluminium walers
(4) Gold struts (extensions if needed)
(2) B struts
(4) Rail Latch bases
(4) Rail Junctions
(8) Nail blocks w clamps
(60) Nails- 16d
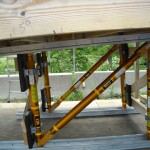
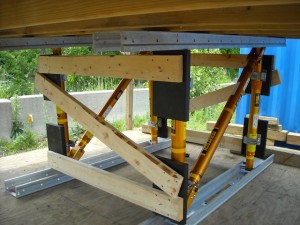 The average time to build and install the entire class 3 shore (6 person squad) was 10 minutes. That did not include anchoring the sole and/or header. The time for anchoring will vary with floor construction (wood, concrete, steel etc). They built this with the struts 4 foot on center in all directions so that a timber shore (5′ O.C.) can be built around it and the Paratech can be removed.
I don’t know about your team but for us being able to shore a sloped floor in 10 minutes is a HUGE improvement from building a timber sloped floor shore because the struts pivot on the rail latch bases and rail junctions you do not have to measure any angles.
Pass it on!
 First Due Tackle Pass It On – Firefighter, Rescue & Extrication Training


